Glitch Delay – How it works part 1

Posted on February 11, 2018

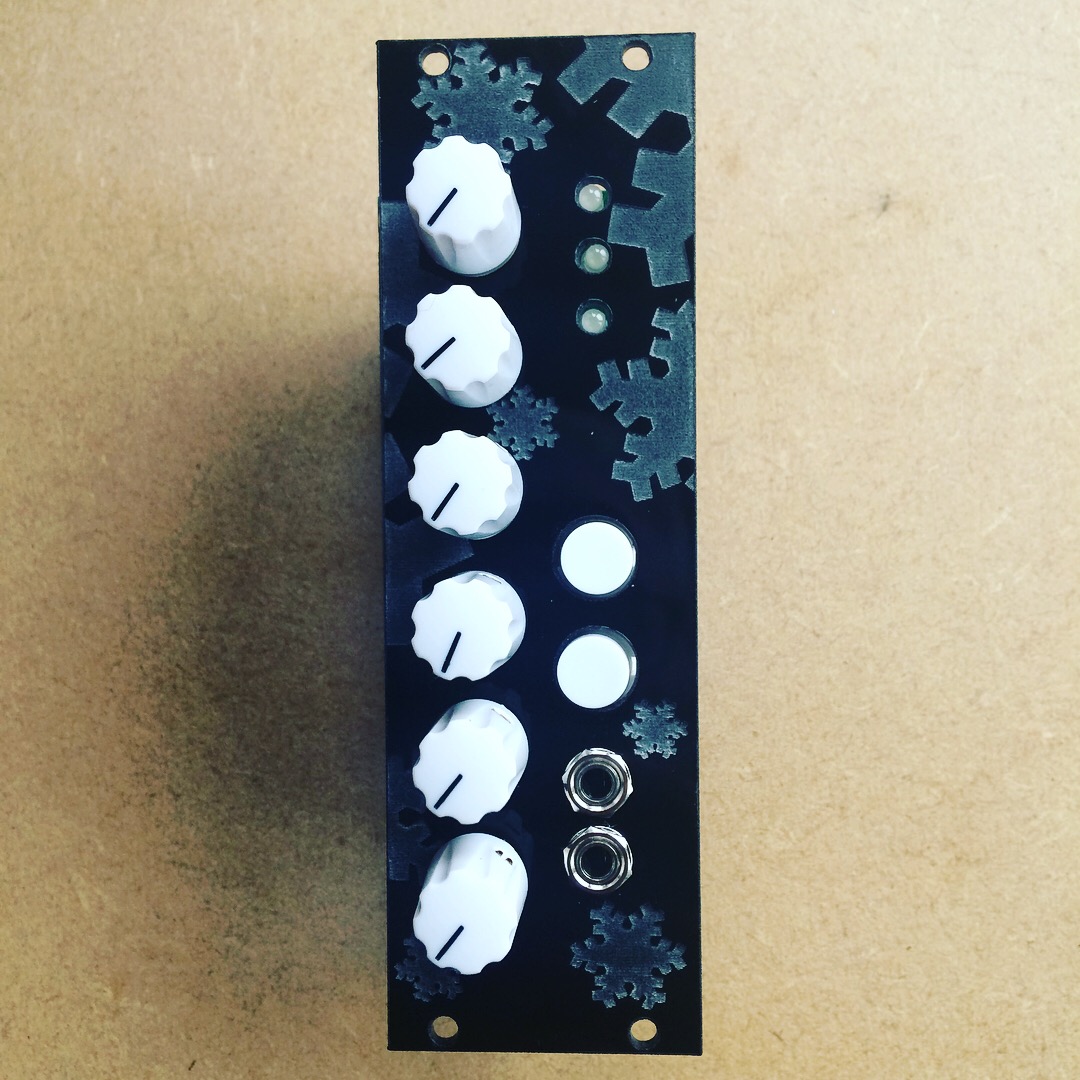
The Glitch Delay is the Teensy based eurorack Delay module I designed that you can read more about here. The video shows what it sounds like, but I thought I’d go into some more detail about how it actually works, and how I went about designing it.

The Hardware

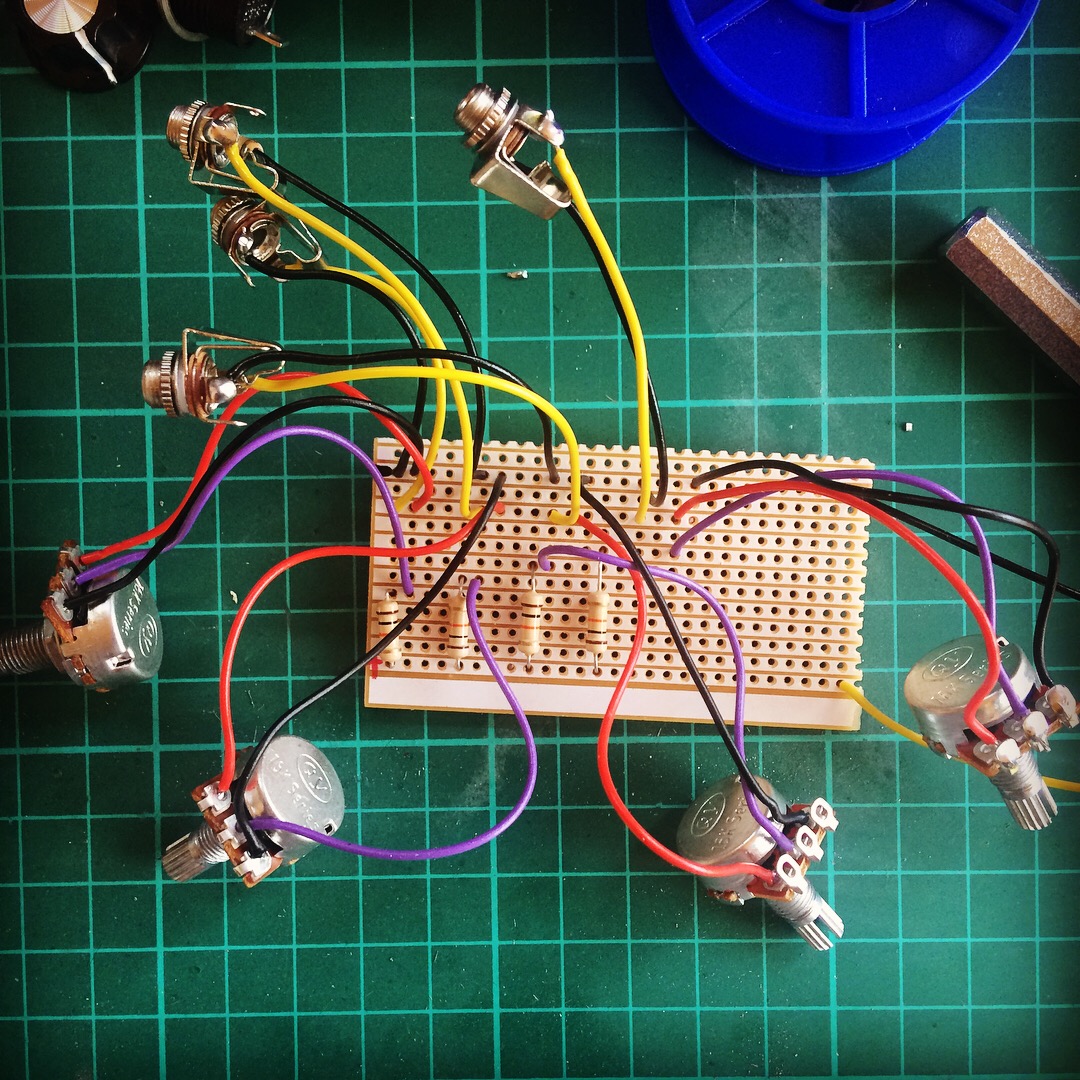
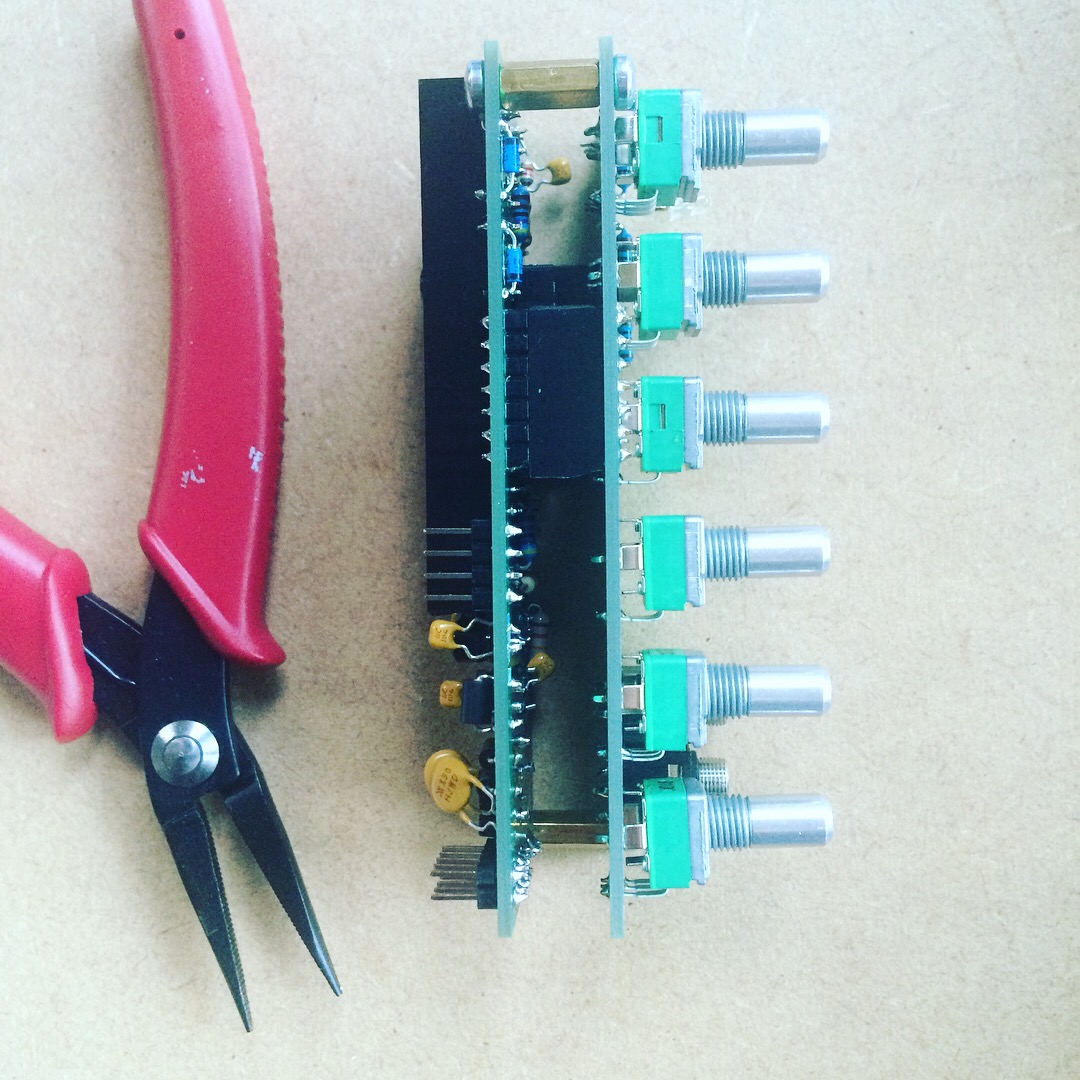
The brain of the module is the Teensy 3.6. The code running on the Teensy uses the Teensy audio library, and implements a new AudioStream. Because the in-built ADC of the Teensy is used by the audio library, we need another way to read the potentiometers, this duty is performed by the PIC. The PIC reads the pots and communicates the values to the Teensy via I2C (a well supported and fairly simple protocol for inter chip communication). Op-amps are used on both the input and the output to scale voltages up and down. You can find the complete schematic here, but I’ll go into detail on the major sections below. Many elements of this schematic are cribbed/stolen from other open source schematics. I’d highly advise checking out the circuits behind the Music Thing and Mutable Instruments modules whose schematics are all up on GitHub. I’m a relative beginner when it comes to electronics, so it’s highly likely there are elements of this schematic that are not best practice or wrong in some way, feel free to email me with feedback and corrections!

Audio input/output

Audio schematic

Audio In

The purpose of this section of the circuit it to scale the modular audio signal from (-5V to 5V), into (0 to 1.2V). 1.2V is the voltage of the internal reference in the Teensy. 5V is added to the incoming signal to bias it to be 0V and above. This circuit is an op-amp summing amplifier similar to this.

When Vin = -5V
Vout = ( -(5/8.3) + (-5/8.3) ) = -1.2V (approx)
When Vin = 5V
Vout = ( -(5/8.3) + (5/8.3) ) = 0V

As you can see, this has inverted our signal (the op-amp is in an inverting configuration), so the second op-amp inverts it back again with a gain of 1 (e.g does not change the magnitude of the voltage, it simply inverts the signal)

Audio Out

On the way out we want to do the exact opposite. Scale from (0 to 1.2V) to (-5V to 5V) this is achieved using a simple inverting op-amp.

The gain of the circuit is:
Gain = -(Rf/Rin) = -(100/12) = -8.3
Max voltage from Teensy = 1.2V
1.2 * -8.3 = -10V (approx)

As you can see, this inverts our signal, so the signal is passed through another inverting op-amp with gain 1. The output of this chain will be (0V to 10V) (actually 9.6V, because we are limited by available resistor values). There’s no need to bias, the output capacitor AC couples the output, blocking direct current. Meaning the output signal is centred around 0V, and therefore (-5V to 5V) again.

I found the power line to be quite noisy. I tried using an external voltage reference, instead of the 5V power from the regulator but didn’t notice much improvement. Everything is fine if the gain-staging is sound. However, with very low input volumes/voltages you will hear noise when you amplify the output. In future I would add a trimpot or panel pot to adjust incoming voltage (e.g. R1).

Teensy

Teensy schematic


The Teensy’s main duty is to do the audio DSP. It is connected to the PIC chip via I2C. This uses the SCL and SDA pins on the Teensy (with pull-up resistors to the power line). See here for more information. On the Teensy this is supported through the Arduino Wire interface, and is very straightforward. I shall go into more details on the software running on the Teensy in future posts. The Teensy also controls the LEDs and reads the push switches. There are lots of pins on the Teensy, so it seemed best to connect them here. It could have been done with the PIC, but there aren’t enough pins so you’d need to use a multiplexer.

PIC chip

PIC schematic


The PIC chip is connected to all the potentiometers. It reads their values and passes the data to the Teensy via I2C. I’ve connected the programming pins to header so it can be programmed on the board. There’s also a connection for an LED for debugging purposes. Neither of these are strictly necessary, but are very useful at the prototyping stage. The capacitor to ground on the power line is as per the data sheet, presumably to deal with minor fluctuations in voltage.
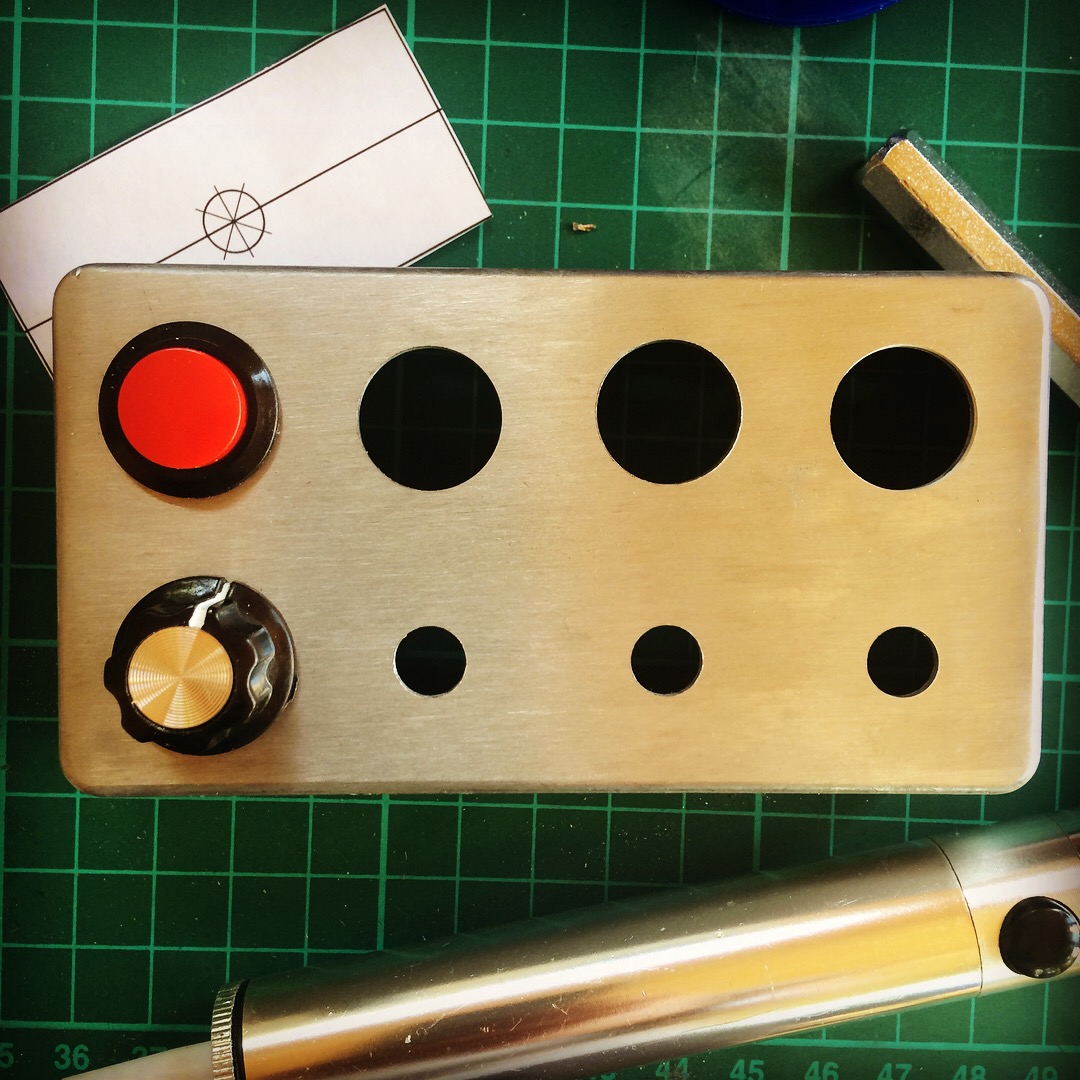
PCB design

All of this was designed in the free version of Eagle. A very powerful, but rather infuriating piece of software (the UI leaves something to be desired, although is getting better). After you’ve designed the schematic you have to layout the board. This is a fun and at times tricky puzzle game. You need to route all of your connections without crossing over another track on that layer. You can use vias to change to another layer of the board which makes things easier. It’s definitely worth spending some time experimenting to get a layout you are pleased with. You’ll end up with something that looks like this.


Glitch delay board layout


You can then send it to a PCB fabrication house to get it made. I used Hackvana, who I was very pleased with. There are a number of alterations I would make on a future board, a major one being that the power connector is too close to the Teensy, meaning I have to improvise a little on the connections. That said, it did work first time, which isn’t bad for a board of this complexity.


In further posts I shall go into a bit more detail about how the software works, and further developments.

Joy of Autoharp

Posted on February 5, 2018

I’m a big fan of the sound of the autoharp, so when I saw one in a small second hand music shop in Hastings, I couldn’t help myself. It doesn’t work very well, it’s a real pain to tune, and the strings need changing, but it sounds lovely. The one I have was made in the 60s in Germany I believe. It was a cheaply produced instrument, but has survived reasonably well. I think the glistening resonance of the strings actually works really well with some of the effects I’ve been building so decided to make a demo.

Used in the demo

Glitch Delay
Audio Freeze
MusicThing Mikrophonie
MusicThing Spring Reverb MkII
EHX Memory Man with Hazarai
TC Electronic DITTO
Small DIY 4 channel that didn’t fit on screen (that’s how I bring in the Glitch Delay effect)


One of the trickiest parts of filming this demo was working out how to film from a top-down perspective with the camera. I fashioned a DIY arm that fits on the tripod with a bottle of water as a counter weight. It did the job but was rather precarious. I think a better long term solution is required!


DIY top down camera setup

Glitch Delay

Posted on January 1, 2018

Happy New Year everyone! I hope your holiday period was less mired by illness than mine. One of the benefits of not feeling up to leaving the house was that I had time to make a demo video for my Glitch Delay Eurorack module.

The effect is designed around the Teensy 3.6 dev board. I designed the PCB in Eagle and had a small batch manufactured. This is very cheap to do nowadays, only a couple of pounds per board.

The effect consists of a standard delay line, or delay buffer, with multiple read heads that each read the audio in a different way. There is a feedback path, so the effected signal can be feedback into its self.

There are 2 types of read head:

Loop heads – These heads loop small sections of audio. There are 3 of these. One that plays the audio an octave lower, one at the original octave, and one an octave higher. The size of each of these loops can be adjusted (size dial), as can the amount the loops move each time the loop starts again (jitter dial)

Reverse head – This head plays the buffer in reverse at the original octave.

The top white button allows you to set a tap tempo. This forces the looping heads to jump to a new position on every beat.

The bottom white button is the ‘freeze’. This freezes the write head. No new audio will be written into the buffer, the old audio will remain. This essentially ‘locks-down’ the audio, so it can be tweaked without the buffer changing.


How can I build one?

The source code for the firmware running on the Teensy 3.6, and the schematics for the PCB are available on GitHub here

I shall post soon with more details of how to go about creating your own.

Can I use this in software?

Yes! I’ve ported the code to the JUCE framework. You can compile it yourself or download the executables from the GitHub here.

Future plans:

There are still some issues to resolve. The output can be a little noisy. This noise comes from the 5v offset applied to the  incoming audio. This is mainly a gain-staging issue, and could be resolved by having an additional potentiometer to scale the amount of bias applied to the incoming signal. There is another issue where the module occasionally fails to power up. I believe this is due to occasions where the 12v line takes a little time to stabilise, which results in the 5v regulator supplying the Teensy with a voltage of less than 5v for a short period, which causes the Teensy to crash. I have a workaround for this in mind though.

I plan to build an expander module which will connect via I2C which will add CV control of many of the parameters. Check back for updates..

New effect on the way

Posted on December 11, 2017

I’ve spent quite a lot of this year (when I wasn’t working on the album) designing a new Eurorack module. It’s inspired by some of the demos I watched of Lines running on the Aleph (by Monome). I’ll be putting up more details soon, but it’s a glitchy digital delay/granular effect running on a Teensy 3.6. I plan to put together a video soon!


Glitch delayglitch delay drill template

Streaming EVERYWHERE

Posted on December 6, 2017

Cutlasses is now available on pretty much all streaming services, including some I’ve not previously heard of. Search on your streaming service of choice. Here it is on Spotify

DIY Sriracha Eurorack Case

Posted on November 27, 2017

This weekend I built a DIY Euroack case out of a cheap tin lunchbox from eBay. I want this case to house some of my Teensy based modules and form an all-in-one guitar focused effects box. The project was reasonably straightforward. I used one of these power boards which supplies +12v/-12V from a 14-24V DC power supply. The board that the ribbon cables connect to is vero board with single header, doubled up. Everything was mounted using 11mm M3 brass stand-offs. The wooden rails are possibly a little thick and will limit the size of the PCB under the module panel. Will have to see how that goes. Putting in thinner rails should be feasible. All holes drilled with my new pillar drill. Much easier, with far less swearing than trying to use a standard power drill. The overall project build cost was around£20. Looking forward to filling this with my DIY modules!


Cutlasses Circuit Cave Complete

Posted on November 19, 2017

I now have a permanent space to build things that go beep and grrrr-beep, in a shed we’ve built in our garden. The other half is reserved for my wife to do dress making. A veritable temple of hobbies! Expect more machines in the near future. I’ll soon be doing some videos of the things I make – watch this space.

Clutching At Conscious reviewed on Louder Than War

Posted on September 13, 2017

There is a punk like approach to these tracks, deep electronic bass sounds, beats, overdriven guitar textures, melody but with a live feel and raw edge

Cutlasses – Clutching At Conscious – Album review

Clutching At Conscious features on radio play

Posted on August 24, 2017

Cutlasses scores the latest episode from the excellent radio play series ‘Whisper Through The Static’. The episode is called Korol Cheyva, click the link to listen. I highly recommend checking out some of the other episodes too, they’re great!

Album is out!

Posted on April 27, 2017

The debut Cutlasses album ‘Clutching at Conscious’ is out! Finally. I feel like it has consumed every ounce of my spare time, and spare thoughts, but I’m very happy with the outcome. You can listen to it, and buy it here or just click on the Music tab. We had the launch party last night, thanks so much to everyone who came, I had a great time, I hope you did too! I’ll probably write a little bit about the construction of some of the tracks, but for now, please listen, and enjoy.


..