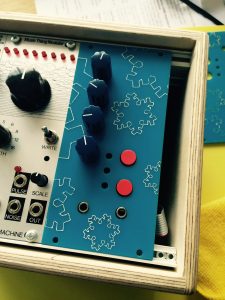
AudioFreeze Fascia complete
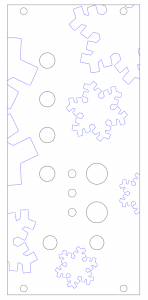
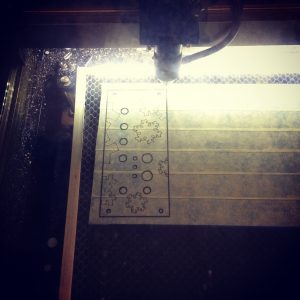
To be able to mount my AudioFreeze PCB in a modular case I needed to craft a fascia. I decided to use laser-cut acrylic. I haven’t found anywhere in the UK that does bespoke Aluminium cutting, and, due to a kind friend, I had access to a laser cutter! I created a vector image in InkScape, a free, well-featured vector art package. It does have its drawbacks though, it’s not particular user friendly. I haven’t found an easy way to show the centre of objects, so I ended up making guidelines to show me, and hiding them in another layer.
I came up with a design involving snowflakes, and I wanted these to be in a different colour. I covered the acrylic in masking tape, and once it was cut I painted over the top with several layers of thin acrylic paint. It wasn’t entirely successful, the paint didn’t fill the etched areas quite as well as I’d hope, but I’m still very pleased with the final result. One downside of using acrylic is that it’s 3mm thick, which seemed slightly too deep to be able to get a nut on the jack sockets as not enough of the barrel protruded. The Aluminium panels from the Thonk – Music Thing kits I’ve built were thin enough not to have this problem.
I’ll make another demo video soon..


