Playing Live – Mainstage vs Ableton
I often find myself searching for information on how other artists put together their live performances. Whether others are cautious about sharing their secrets, or they just don’t consider it interesting, I’m not sure, but information seems reasonably thin on the ground. I thought I’d document my experiences, hopefully someone will find it useful!
When I played as Unicorn Power, we used Mainstage from Apple. Essentially it hosts all of the instruments that come with Logic, but allows you to create your own interface to them. It has loopers and playback plugins, and you can layout exactly what you want to see. For our gigs, we were essentially playing to a backing track, which contained the drums and also any samples we couldn’t cue live. We also used samplers, guitar simulation and soft synths, which we played in real-time. The thing I liked about it most, was that for every song I could have a completely different set of mappings and instruments on each track.
When I decided to do something different from Unicorn Power, I was driven to do something that allowed me to create more of the electronic elements live, and to structure the songs on the fly. As much as I liked Mainstage, it’s rather limited. Ableton Live seemed the obvious progression. I was actually quite surprised initially, by how difficult it was to achieve the same level of flexibility. Gone was the ability to completely change presets with each song, without some rather fiddly faffing about.
Set construction
After much research, consultation with friends and copious procrastination, I settled on a format for my Live set. I had 8 main tracks divided into drums, bass, melody, and soundscapes. Some of these tracks play audio clips, and some MIDI clips. I found MIDI useful for live drums especially, where I don’t want the tail to be cut off by the loop. Taking my existing tracks and breaking them down into clips, when they’d not been authored with this in mind, took far longer than I’d care to admit. With the tracks broken down like this I can launch them from a Launchpad Mini. I have various plugins such as filters on specific tracks that are then mapped to physical knobs on a controller.

Changing Tempo
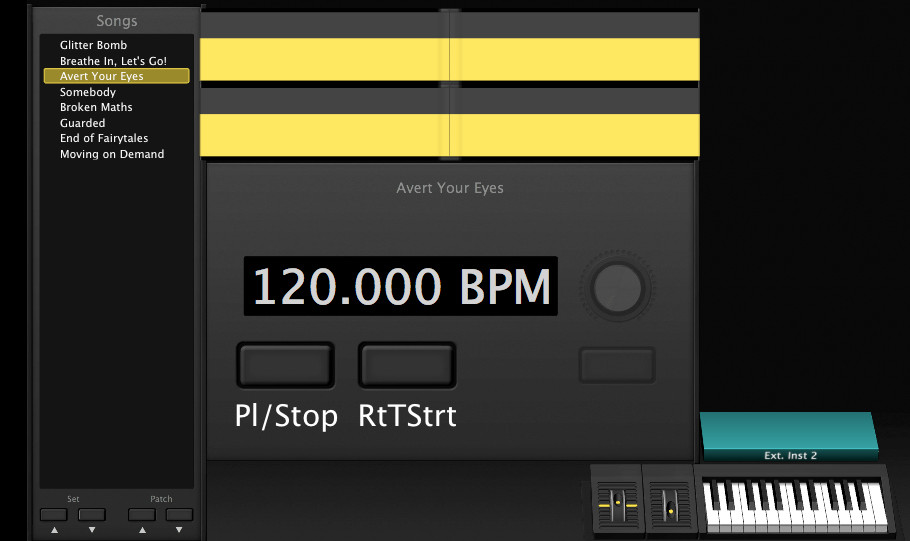
There is a somewhat hidden Ableton feature where you can change tempo via scene naming. If your scene name contains xxbpm, where xx is a value in beats per minutes, Ableton will change the tempo on the scene change. I thought this was rather obtuse, but it works. The only problem is that the tempo change is immediate, not a gradual change. The tempo changes in my set are reasonable small, and I order the tracks in order of ascending tempo so it works for me.
Dummy clips
I wanted to be able to quickly change guitar effects live. In MainStage I could have a different guitar preset for every track, but in Ableton this proved more tricky. I eventually stumbled on ‘Dummy Clips’. These are clips of empty audio that contain envelopes which are triggered when the clip is launched. These envelopes can then drive whatever you want. You could have an envelope to enable/disable multiple plugins for instance.
Changing Guitar Presets
My first attempts to have multiple presets that I could switch between, was to create an Effect Rack, and have multiple instances of Guitar Rig with different pedals loaded. I could then switch between these effects using the Chain Selector, triggered by dummy clips. This worked fine, but totally canned my CPU. I hadn’t realised that each instance of Guitar Rig was running concurrently. It was causing audio glitches, so I needed another approach. I eventually discovered that you can change Guitar Rig presets using MIDI CC commands. This seems very poorly documented, so below I’ve detailed how I made it work.
- Add a Guitar Rig plug-in to an audio track
- Make a note of the #num of the presets you wish to change to (shown next to the preset), this correlates to the program change MIDI command you have to give. Due to the fact that the max value is 127, and you can’t re-order the presets, I had to remove the factory presets (annoying)
- Create a MIDI Track
- Set the ‘MIDI To’ in the MIDI track to be your guitar rig track
- Create an empty MIDI clip
- Set the Program Change to match the Preset in Guitar Rig
- Optionally map these clips to your pedal (I use a launch pad, so launch the clips as part of a scene to select the Guitar Rig preset).
I change guitar presets on scene changes, and have the ‘Record Arm’ mapped to my USB MIDI pedal. This allows me to turn guitar channels on and off. I also have looper controls on the same pedal (record and clear).
I’m pretty happy with my setup now. It’s taken time to learn Ableton, and I still think MainStage represents a better option if you just want to play previously written songs with a set structure. Where Ableton strengths lie are in its ability to let you improvise. I want to start experimenting with making more of my own MIDI controllers, and possibly some MAX MSP plugins. I might post up some pictures of how everything is physically connected later.